> For the complete documentation index, see [llms.txt](https://tkssharma-devops.gitbook.io/devops-training/llms.txt). Markdown versions of documentation pages are available by appending `.md` to page URLs; this page is available as [Markdown](https://tkssharma-devops.gitbook.io/devops-training/devops-01-continuous-integration/continuous-integration-and-continuous-delivery/ci-cd-using-gitlab-ci-s3/ci-integration-with-aws/gitlab-ci-with-aws-s3.md).
# Gitlab CI with AWS S3
lets now integrate Gitlab CI with AWS components, first one is S3
First things first, let’s set up an [AWS account](https://aws.amazon.com/) and create a new S3 bucket! Any new AWS accounts go under their [free tier](https://aws.amazon.com/free/) which will allow us to deploy to S3 for free (for the first year, under certain request constraints).
1. React application using create-react-app
2. AWS Account and log in with non-root user having administrator access
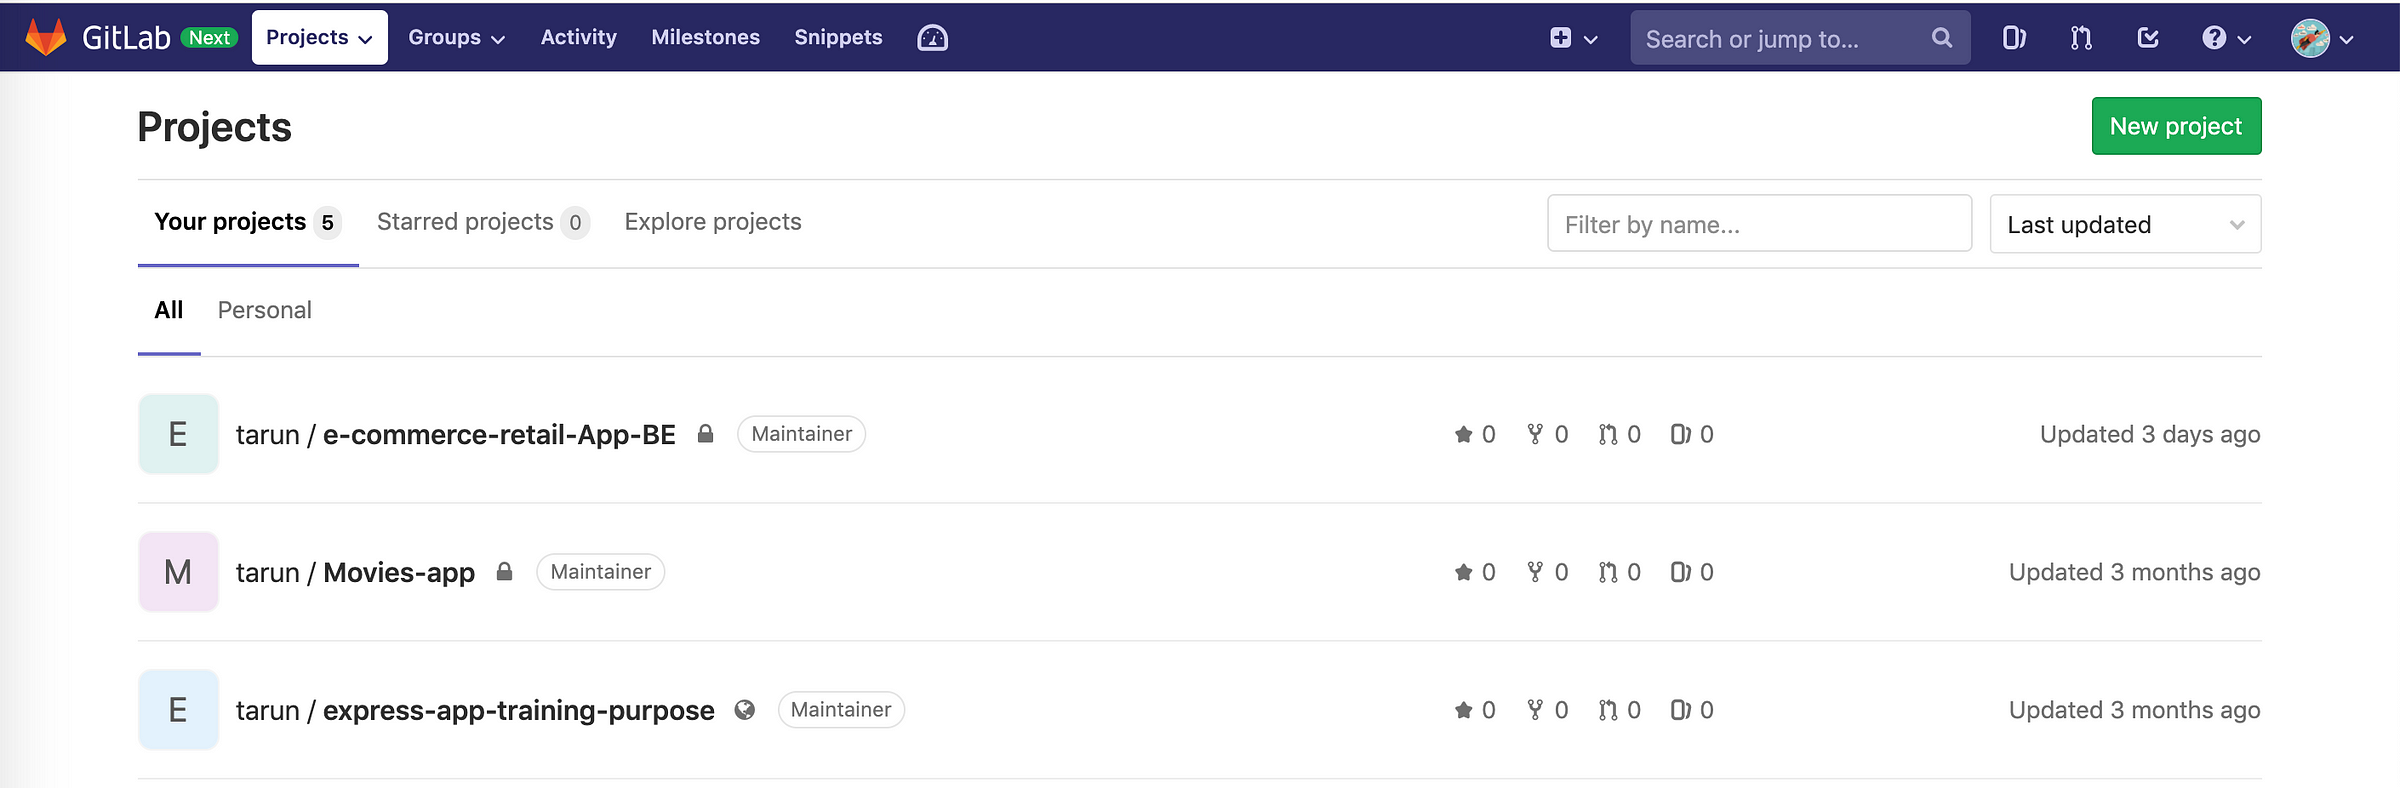
3. gitlab account and code has been pushed on gitlab Repo
These are basic steps, You can get free tier subscription from AWS and can play with AWS Managed services. create gitlab account and push code to the repository
#### gitlab CI CD using gitlab.yml
**login to AWS Console and create S3 Bucket**
Once signed up, head over to the [S3 console](https://s3.console.aws.amazon.com/s3/home) and click “Create Bucket”Create bucket modal
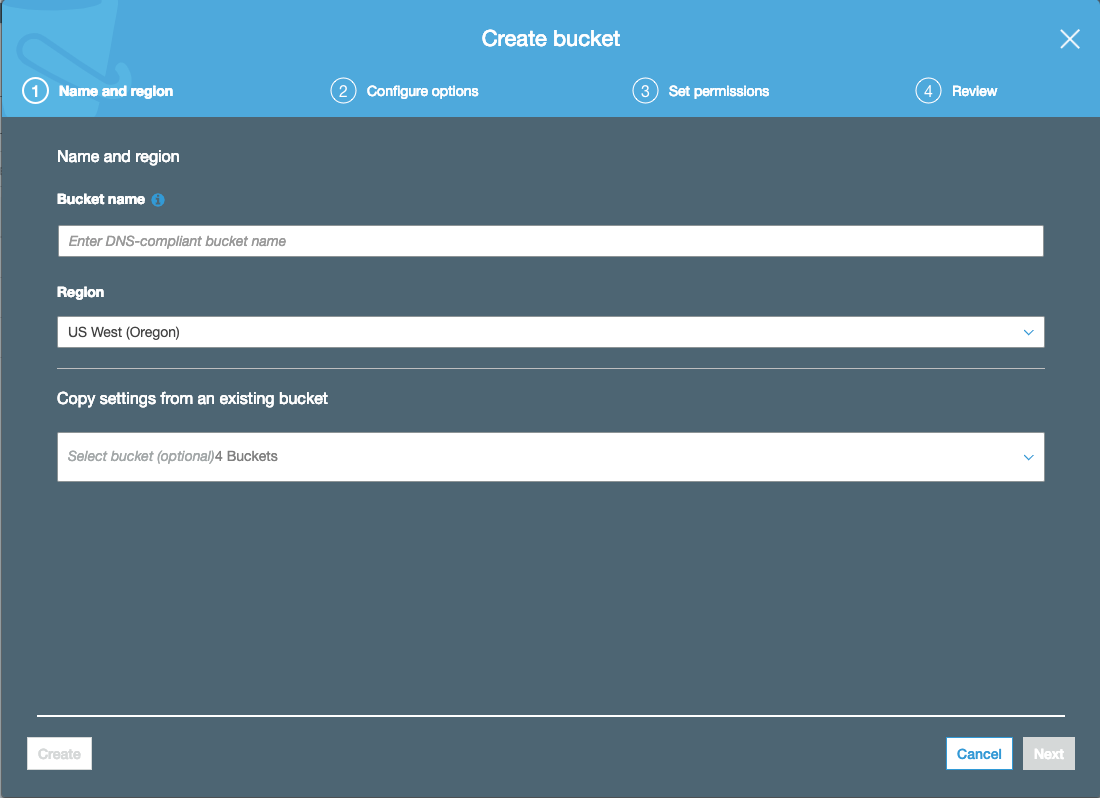
You will be shown this modal. Enter in a bucket name (remember this will be required to be unique across AWS). On the “Set Permissions” tab, ensure you uncheck “Block new public bucket policies” and “Block public and cross-account access if bucket has public policies”:

After the bucket has been created, click into the bucket and click the second tab called “Properties”. You will see a card called “Static website hosting”. Click that and enable “use this bucket to host a website” and fill in `index.html` for the index document as so:
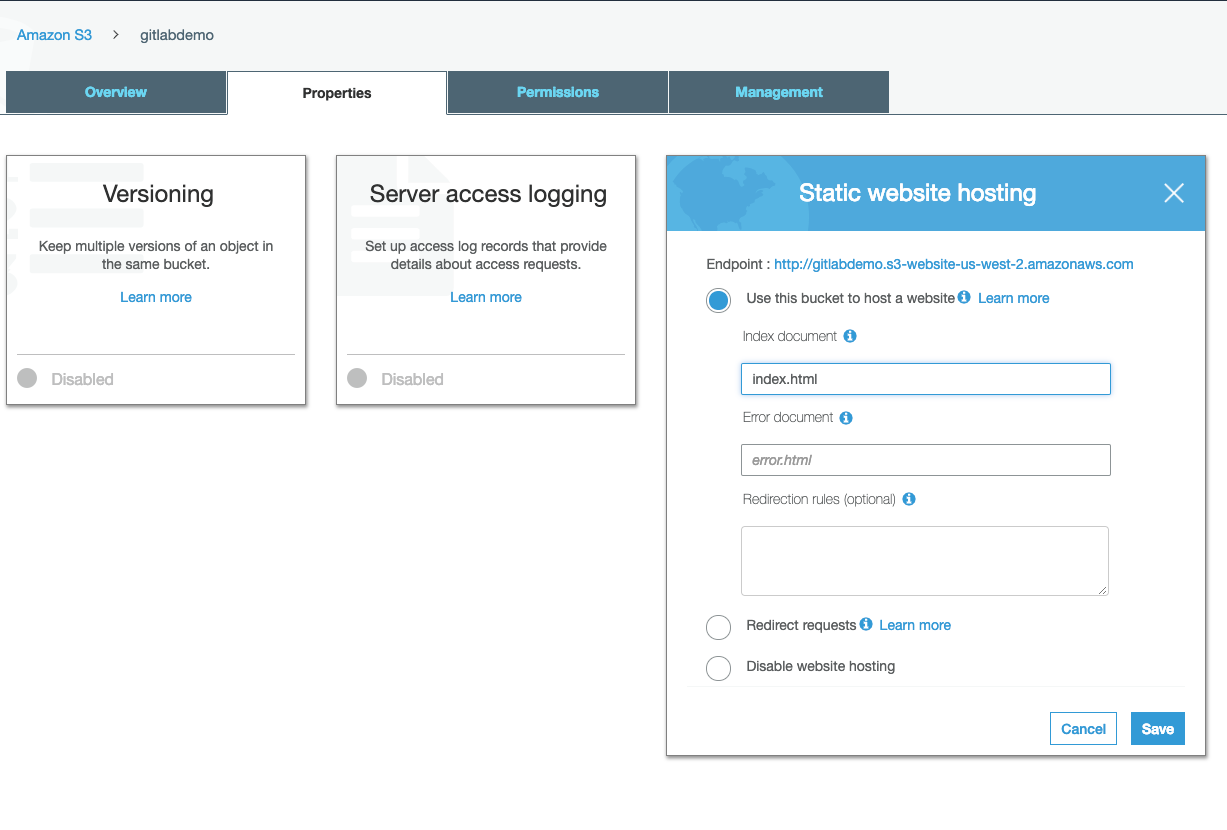
*Note: The endpoint at the top of the modal will be the URL you can use to access your website!*
Now for the final part, allow read permissions to your S3 bucket (so your users can see your awesome website!). Navigate to the third tab that says “Permissions” and then click “Bucket Policy”. You will need to add the following policy in the editor:
```
{
"Version": "2012-10-17",
"Statement": [
{
"Effect": "Allow",
"Principal": "*",
"Action": "s3:GetObject",
"Resource": "arn:aws:s3:::YOUR_BUCKET_NAME/*"
}
]
}
```
*Don’t forget to replace `YOUR_BUCKET_NAME` with the bucket name that you used when creating. This allows any user to `GET` from your bucket.*
Head back over to the “Public Access Settings” tab and re-enable blocking new bucket policies:This ensures the bucket policy cannot be updated

Now if we go to the URL that Amazon assigned this bucket, you should see a… 404! That’s because we haven’t pushed your project from GitLab!
The final thing we must do in the AWS dashboard is to create an IAM user so that we can safely allow GitLab to access and upload data to this bucket. This allows us to revoke access if we ever need to.
**IAM User:**
Navigate to the [IAM Management Console](https://console.aws.amazon.com/iam/home?#/users) and click the blue “Add user” button at the top. Give a descriptive username such as `gitlabci` and select “Programmatic access”

You will next create a group if you haven’t already done so and attach a policy. For the means of this demo, we will use `AmazonS3FullAccess` — however, you may want to change policies based on your security needs.
After the final step when you click “create user” you will be shown a success screen, which will house two very important pieces of information: Access Key and Secret Key. **Note:** **Once you leave this screen, you will no longer have access to the Secret Key**. You can either write it down or download the .csv and then **ensure** you delete later. Whatever you do, make certain that no one gains access to the keys.Either download the .csv or click show secret key and copy and paste somewhere

We’re almost there! Now we just need to setup GitLab to push to our S3 bucket.
**GitLab:**
Welcome, GitLab CI/CD. Prior to testing out [GitLab CI/CD](https://docs.gitlab.com/ee/ci/) I always hosted my code on GitHub. GitHub did an amazing job at keeping my source code secure and widely available, however, I noticed that without some elbow grease, it did pretty much just that. I told myself that I wanted to be able to make a code change, commit, push, and then see my new code deployed on the internet.
Head over to [GitLab](https://gitlab.com/), signup for an account, and create a new project. GitLab acts just as GitHub in the sense that you will need to add its remote origin to your local project. Once the project is setup you will rename/add this as a new remote to your local `.git` :
```
git remote rename origin old-origin
git remote add origin https://github.com/tkssharma/awesome-create-react-app.git
git push -u origin --all
```
Now for the key file that you need in order to get CI/CD setup with GitLab:
Go to the root directory of your app and add this file `.gitlab-ci.yml` and copy the content of the above Gist; once pushed, GitLab will automatically recognize and begin it’s “dev-ops” process.
So what exactly does this file do?
```
stages:
- build
- deploy
```
This tells GitLab what “steps” to run during your CI/CD process. You can easily forsee adding more steps such as `test`, etc. Let’s take a look at the first stage — **build**:
```
build prod:
image: node:10.15.0-stretch
stage: build
only:
- tags
script:
- npm install
# Build App
- npm run build
artifacts:
paths:
# Build folder
- dist/
expire_in: 1 hour
```
* **image**: Since we are building our Vue.js app, we will want to set the docker image to be some version (preferably latest) of Node.
* **stage**: This should coincide with one of the `stages` that we described at the very top of the file. This let’s GitLab know how stages are associated.
* **only**: This is very key if you want GitLab to run these scripts conditionally based on a specific branch or tag. For me, I like to set up a stage and production environment. When I merge changes into master, it will run the stage scripts, and when I create a tag, it will run the prod scripts.
* **script**: download all the dependencies, and then run our build script from our `package.json` — which for me looks something like:
* **artifacts**: *Now this is what got me tripped up in the beginning.* Since we have two stages in our deployment process (build and deploy) and they are both on two different images, we need a way for the second stage (deploy) to have access to our build folder — `dist/` . With artifacts, we can set a path to “store” for other stages to reference. Thus, I set my path for the `dist/`folder and set an expiration for 1 hour.
Now for the final stage in the pipeline — **deploy**:
```
deploy prod:
image: python:latest
stage: deploy
only:
- tags
script:
- pip install awscli
- aws s3 sync ./dist s3://YOUR_BUCKET_NAME
```
Python is the supported CLI for AWS, so we set our image to `python:latest`. When this runs, it will install the latest AWS CLI and sync the dist folder with the bucket we created in the beginning. Ensure `YOUR_BUCKET_NAME` is the same as the bucket we created in the S3 console.
*Note: If you want both stage and production environments, you will need to create a second bucket in S3 (with the same configuration as the first) and use that as the staging bucket.*
**Last Step:**
How does AWS know that it should allow this user to sync to the S3 bucket? From the IAM user we created in the beginning half of the article! Since I mentioned that it is an extremely bad technique to expose/commit your keys we will add them to GitLab’s [environment variables](https://docs.gitlab.com/ee/ci/variables/). Navigate to the CI/CD in the Settings tab and expand “Environment Variables”GitLab AWS Environment Variables

You will add two variables: `AWS_ACCESS_KEY_ID` and `AWS_SECRET_ACCESS_KEY` . Fill in the values with the associated keys that you downloaded/copied when created the user in the IAM management console.
We’re all set to test it out!
Push some code to master and watch GitLab automatically kick off the CI/CD process. You can watch the stages execute and see your completed pipelines:

Take a look at [GitLabs CI/CD documentation](https://docs.gitlab.com/ee/ci/README.html) to see how you can extend your jobs to accomplish anything you may need.
**Summed up:**
After completing these steps, you should in essence have:
* Created an AWS account
* Created an S3 bucket and set permissions to public access
* Created an IAM user for GitLab to use
* Create a GitLab account/project
* Add our `.gitlab-ci.yml` and fill with our CI/CD stages
* Add our IAM credentials as environment variables
* Sit back, smile, and watch as your code is automatically deployed to S3 via GitLab’s CI/CD process
####
---
# Agent Instructions
This documentation is published with GitBook. GitBook is the documentation platform designed so that both humans and AI agents can read, navigate, and reason over technical content effectively. Learn more at gitbook.com.
## Querying This Documentation
If you need additional information that is not directly available in this page, you can query the documentation dynamically by asking a question.
Perform an HTTP GET request on the current page URL with the `ask` query parameter, and the optional `goal` query parameter:
```
GET https://tkssharma-devops.gitbook.io/devops-training/devops-01-continuous-integration/continuous-integration-and-continuous-delivery/ci-cd-using-gitlab-ci-s3/ci-integration-with-aws/gitlab-ci-with-aws-s3.md?ask=&goal=
```
`ask` is the immediate question: it should be specific, self-contained, and written in natural language.
`goal` is optional and describes the broader end goal you are ultimately trying to accomplish on behalf of the user. GitBook uses it to tailor the answer towards what is most useful for that goal.
The response will contain a direct answer to the question and relevant excerpts and sources from the documentation.
Use this mechanism when the answer is not explicitly present in the current page, you need clarification or additional context, or you want to retrieve related documentation sections.